An advertising tent is judged on site, in wind and rain, by people who have ten minutes to raise it. That single fact drives every specification decision below: fabric weight, frame stiffness, print method, packed volume and how clearly the instructions explain the assembly order.
How an Advertising Tent Earns Its Space at an Event
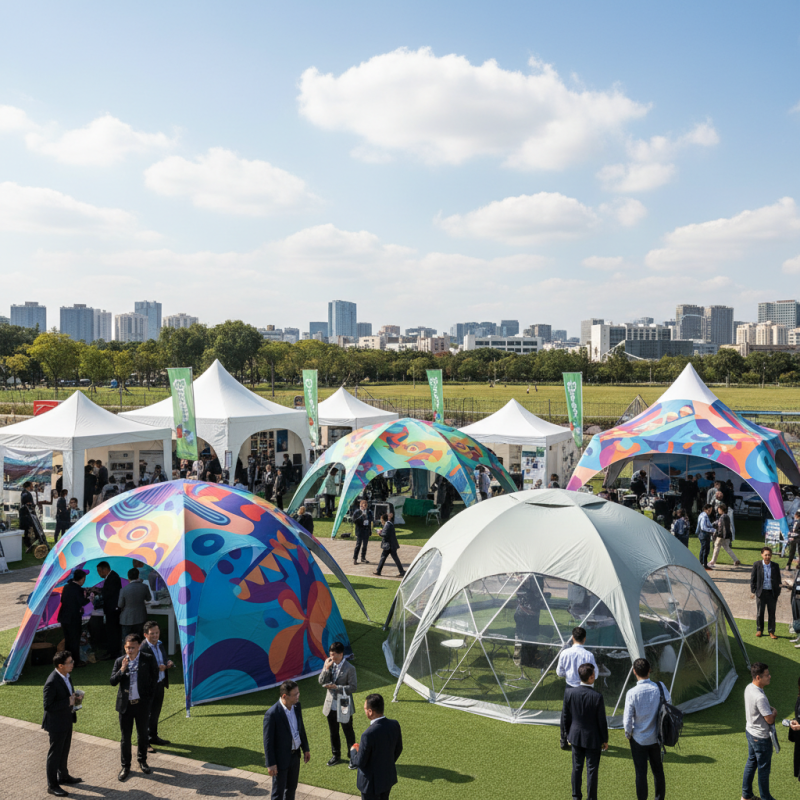
A canopy does two jobs at once. It shelters staff and product, and it works as a branded landmark that is visible from the far end of an aisle or a field. Both jobs depend on the same three variables: footprint, fabric opacity and print coverage. A tent that is too small disappears into a crowd; one that is oversized can overwhelm a shared booth or block a neighbouring stand.
Buyers should also decide early whether the tent is a campaign asset or a reusable one. Campaign tents are chosen for fast setup and a strong printed graphic. Reusable fleet tents are chosen for frame life, replaceable canopy skins and a pack size that fits existing transport. That decision changes the frame, not just the artwork.
Frame and Fabric: The Two Decisions That Set Durability
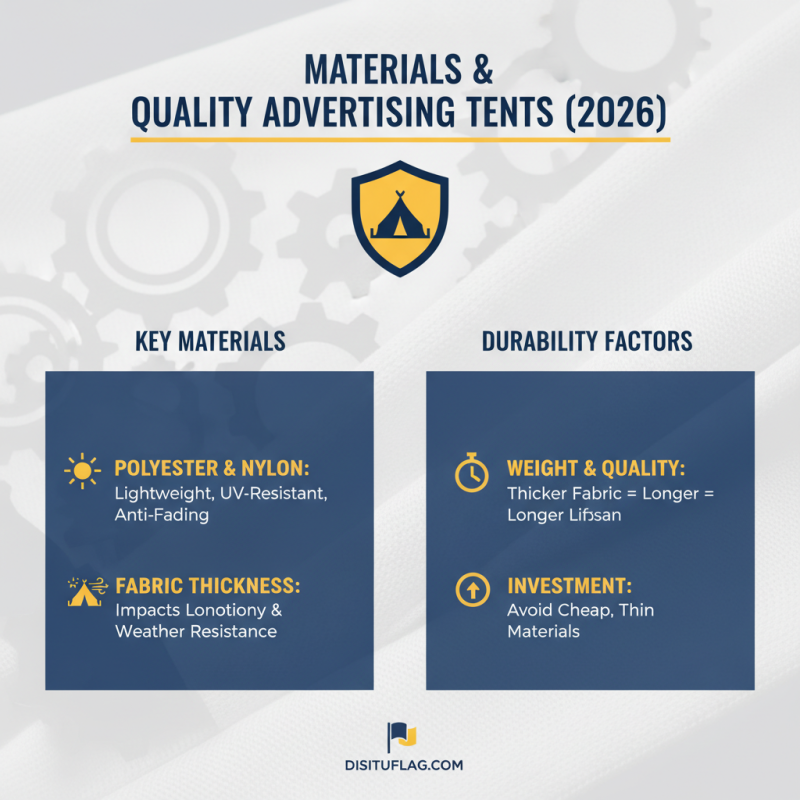
The canopy fabric is the first line of defence against sun and rain. Polyester and nylon are the usual choices because they stay light while accepting a UV-resistant and water-resistant coating. The variables that matter are weight and coating quality, not the fibre name alone: a thin fabric with a thin coating fades and wets out long before a heavier fabric with a proper coating does.
Behind the fabric sits the frame. A rigid frame keeps the canopy taut, so the printed panels stay flat and readable; a frame that flexes in a gust lets the fabric flap, which is when stitching, seams and print start to fail. Look for reinforced stitching at the high-load corners and for a frame whose joints lock rather than rely on friction.
- Reinforced seams and corners — the first place any canopy tears.
- Weather-resistant coating — keeps graphics legible through a rainy setup day.
- Locking frame joints — the difference between a taut roof and a flapping one.
- Ballast or anchoring plan — no frame survives a gust it was not anchored for.
Sizes and Configurations for Different Promotions
Match the footprint to the use, then confirm the packed size against the vehicle or pallet it will travel on.
| Configuration | Typical use | Anchoring note |
|---|---|---|
| Compact folding canopy | Sampling tables, market stalls, one-person setup | Leg weights or ground stakes on every leg |
| Standard pop-up booth | Trade shows, exhibition aisles, seasonal retail | Weighted feet indoors, stakes plus weights outdoors |
| Wide-span canopy | Outdoor festivals, brand activations, hospitality zones | Guy lines or ballast matched to open-site wind |
| Air-frame or inflatable structure | Roadshows where transport volume is the constraint | Continuous blower or inflation check before opening |
Two rules save callbacks. First, decide the traffic side of the tent before printing, so the main graphic faces the approach route. Second, treat the frame, canopy and ballast as one order; a canopy delivered without an anchoring plan will be judged as a failure on a windy day.
Printing and Branding Methods That Survive the Weather
Print method follows placement. Flat panels that must stay readable at a distance are usually printed and then welded or stitched into the canopy. Small logos and fine type belong on flat, protected surfaces rather than on curves or seams, where coverage breaks up. Colour choice matters for a reason beyond brand guidelines: a dark canopy with light graphics holds contrast under overhead light, while light backgrounds with dark graphics read best in strong daylight.
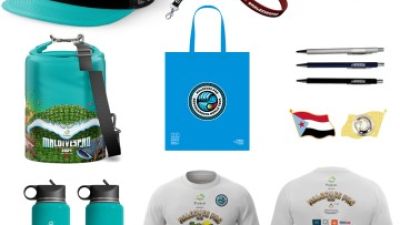
Approval discipline is where most print problems are actually created. Sign off a physical proof or a production sample of the coloured panel, not a screen image, and confirm the colour standard in writing before tooling starts. This is also the moment to lock the branding onto any accompanying materials, so the tent, the flag formats and the handouts share one palette instead of three.
Packing, Transport and On-Site Setup
Packed volume decides how many tents fit in a container, a van or a storeroom, and it is usually the first thing a distributor asks about. A tent that packs into an oversized case can cost more to move than it earns.
Setup complexity decides whether the tent is used. Clear, illustrated assembly instructions are not a luxury: the most common complaint in buyer feedback is not the material, it is a confusing first assembly. A tent that two people can raise in a predictable sequence without tools gets reused every quarter; one that needs four people and a manual stays in the store.
- Confirm canopy, frame and case dimensions separately — the binding constraint is usually the longest packed part.
- Require an illustrated setup sheet in the box, in the destination language.
- Order the ballast, stakes and repair kit with the first shipment, not the second.
Where Advertising Tents Fit in a Multi-Format Campaign
Tents rarely travel alone. A typical activation combines a canopy over the team, a vertical flag format at the roadside to pull traffic in, and smaller table formats for sampling. Consolidating those formats with one supplier means one colour standard, one packing convention and one shipment to clear. Buyers who build that package deliberately get a booth that looks designed rather than assembled. Our advertising and display range and the flag banner formats are specified to be ordered together, and past builds are documented in the project gallery.
Buyer’s Checklist Before Confirming a Tent Order
| Item to confirm | What to write in the specification |
|---|---|
| Footprint | Canopy dimensions plus the traffic side that receives the main graphic |
| Fabric | Fibre type, weight class and coating (UV and water resistance) |
| Frame | Joint type, locking mechanism and rated wind expectation for the site |
| Method, panel placement, colour reference and approval route | |
| Anchoring | Ballast weight or stake type, listed as a line item |
| Packing | Canopy, frame and case dimensions, plus inner bags and retail packaging |
| Documentation | Illustrated setup sheet and care instructions in the destination language |
| Accessories | Side walls, counters, lighting and repair kit, ordered together |
Care and Storage Between Events
Fabric lasts longer when it is dry before it is folded. Store canopies clean and dry, out of direct sun, and inspect seams and frame joints at the start of each season. Replace a damaged canopy skin rather than the whole unit; that is exactly why replaceable skins should be part of the original specification. Any coating or mesh that has stiffened or clouded is a sign the canopy has absorbed a season of UV and should be reordered before a peak event.
Send Your Tent Specification Get a Matched Quote
Tell us the footprint, the fabric class you need, the print coverage and where the tent will be used. If you are building a full activation package, send the tent dimensions together with your flag format requirements and we will match them from one specification sheet. Use the quote request form and note your target market so the anchoring and documentation are supplied correctly. If you are comparing formats first, start from the product catalogue.