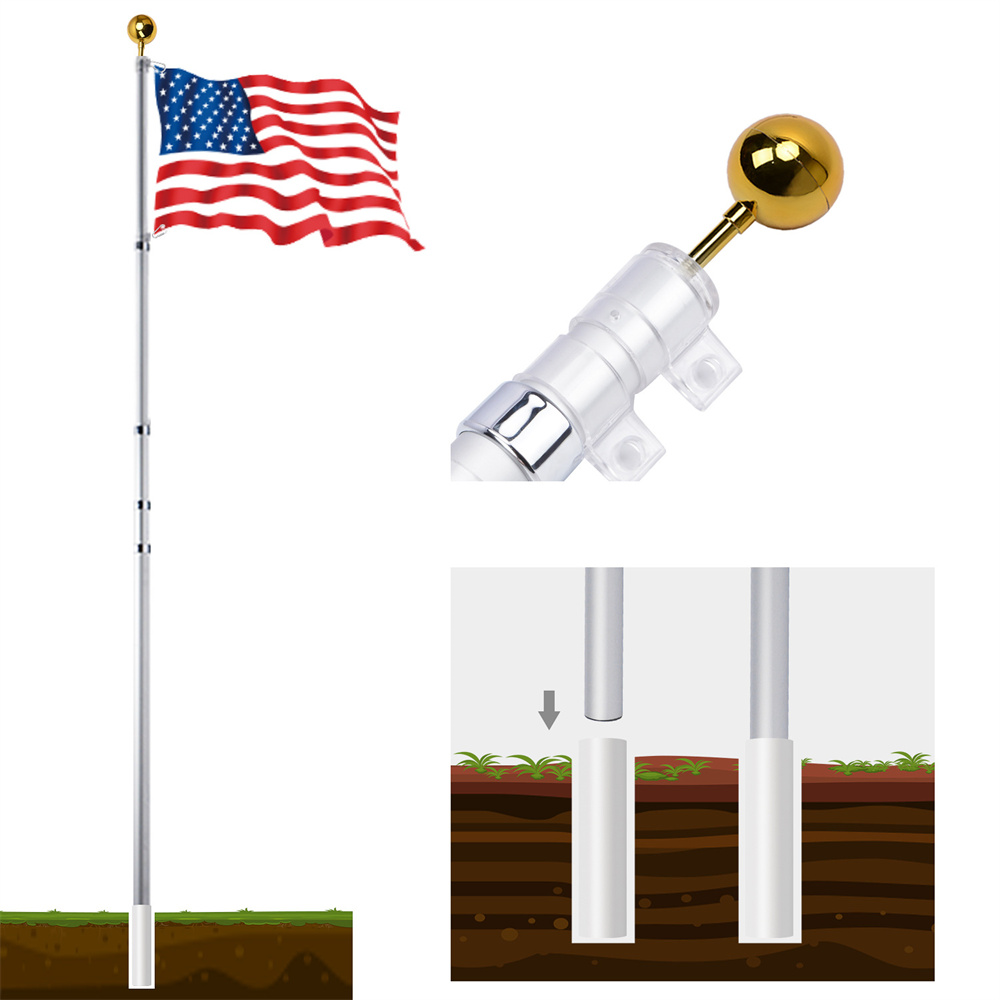
A 20 ft telescoping flagpole is the size most residential and light commercial programmes settle on, and it is also the size that is most often installed badly. Almost every failure we see traces back to one of three things: a hole that was too small, a sleeve that was not set vertical, or concrete poured inside the sleeve instead of around it. This guide walks through how to install a 20-foot telescoping flagpole in the order the work actually happens, and flags where the archived instructions for in-ground flagpoles still apply.
How to Install a 20-Foot Telescoping Flagpole: Tools and Site Checks
- Ground sleeve (the PVC or steel casing supplied with the kit) plus its cap or seal
- Concrete mix, crushed stone or gravel for drainage, clean dry sand
- Post-hole digger or auger, standard shovel
- Spirit level and a plumb line
- Outdoor caulk
- At least one helper for raising the pole
Quantities scale with pole size and with how many poles are going in. Mix concrete one bag at a time rather than in one large batch; you will use less and waste less.
Step 1: Pick the Site and Call for Utility Locates
The hole is the dangerous part of the job, not the pole. Buried power, water, telecom and irrigation lines turn a simple dig into a service interruption or an injury. Confirm the location of every buried service before the first shovel goes in.
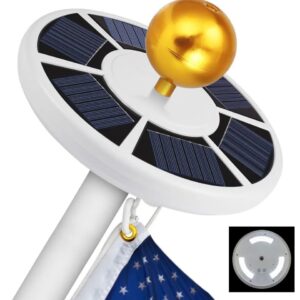
On siting, three things matter: the pole should be visible from where people actually pass, the flag should catch wind from more than one direction, and nothing should shade the flag. Keep the pole clear of trees and buildings — not only for wind, but because a flag that is lit or naturally illuminated reads far better when it is not sitting in shadow.
Step 2: Size the Hole Correctly
Foundation size is a multiplier on the diameter of the pole end, not a fixed number of inches. The archived in-ground installation guidance we work from puts the hole at four to six times the diameter of the pole end:
| Site condition | Hole diameter | Reason |
|---|---|---|
| Firm soil, low wind | 4 × pole end diameter | Adequate bearing, less concrete used |
| Average soil, moderate wind | 5 × pole end diameter | Sensible default for a 20 ft pole |
| Windy site or sandy/soft ground | 6 × pole end diameter | Wider base resists overturning and lateral movement |
Depth is not a guess either: dig to the length of the ground sleeve plus 6 inches. The extra 6 inches is the drainage layer you put under the sleeve, so water that gets into the sleeve drains away instead of sitting against the pole.
Step 3: Set the Ground Sleeve and Pour the Foundation
- Put about 6 inches of crushed stone in the bottom of the hole.
- Stand the sleeve on the stone and check that its top sits flush with the surrounding ground. Adjust the stone depth until it does.
- Level the sleeve so it is vertical, and brace it so it cannot shift while you pour. A sleeve that is off-vertical produces a pole that leans for its whole service life.
- Seal the top of the sleeve. This is the step that gets skipped: if concrete falls into the sleeve, the pole will not seat.
- Shovel concrete into the hole around the outside of the sleeve, not into it, and stop 1–2 inches below grade so topsoil and grass can be finished over the collar.
- Cure overnight as a working default. If the job must close in one day, follow the concrete manufacturer’s stated cure time rather than a rule of thumb.
Leave the pole itself out of the ground while the concrete cures.
Step 4: Assemble the Telescoping Sections
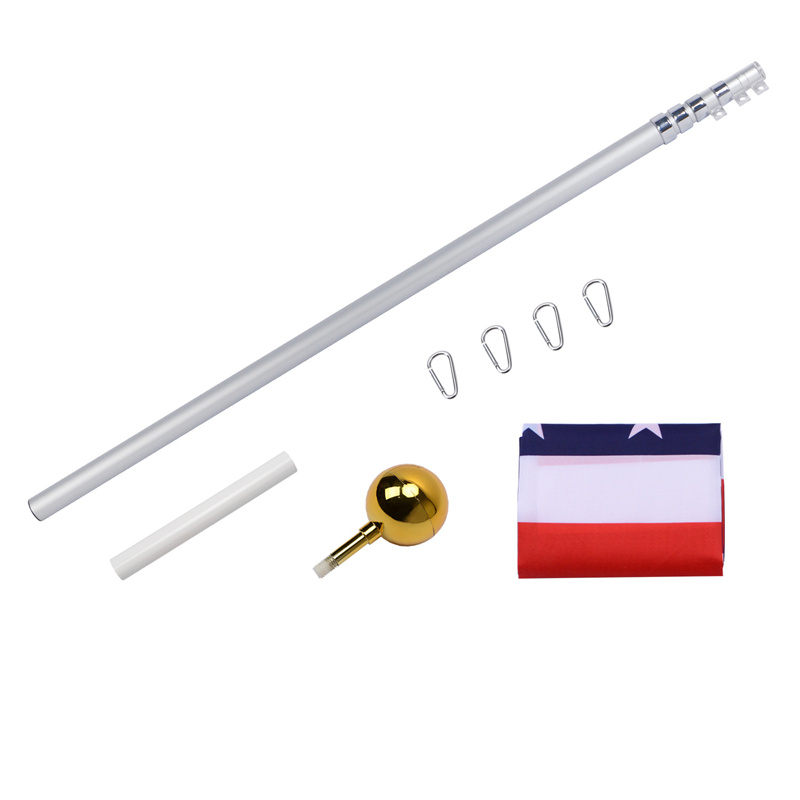
A 20 ft telescoping pole is assembled before it is raised:
- Extend the sections. With a twist-lock telescoping pole, pull each section out and lock the collar; with a sectional in-ground pole, seat each section fully into the next.
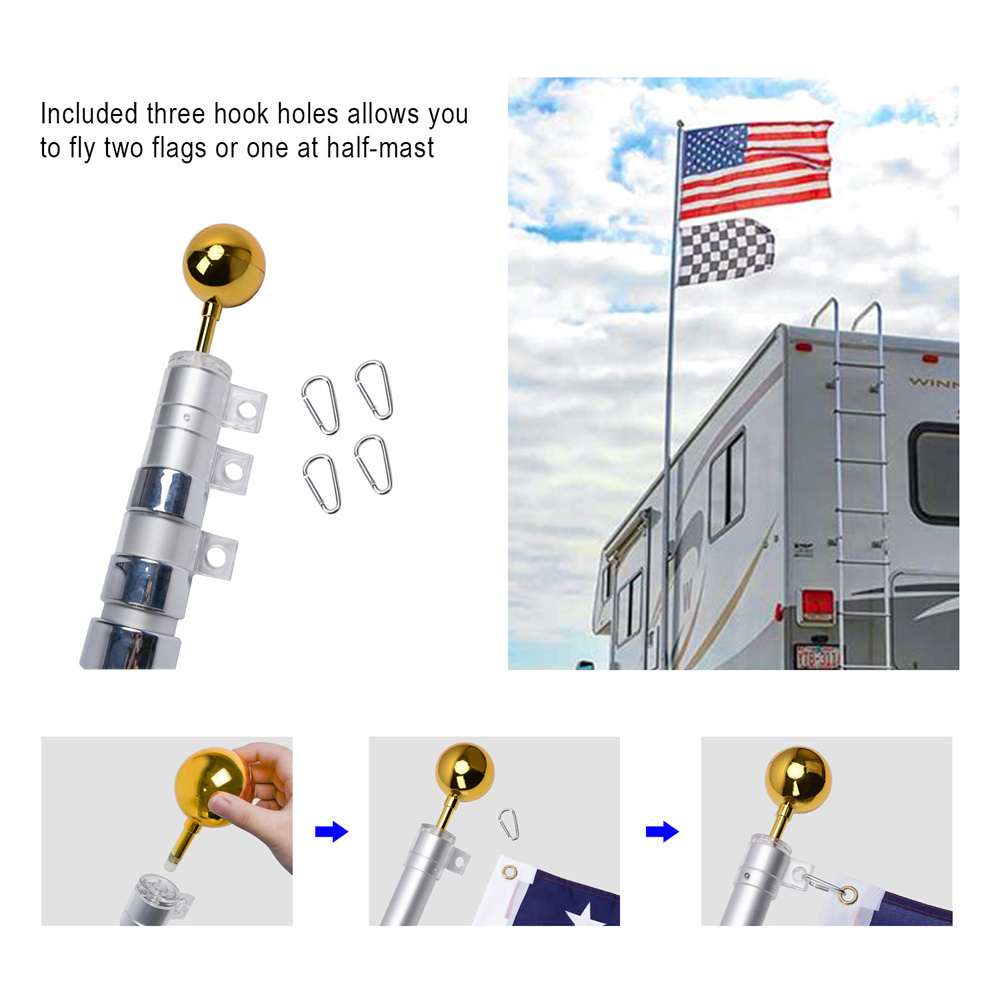
- Fit the top ornament — ball or eagle head — and tighten it.
- Fit the flag attachment hardware at the top: clip positions, or the pulley and halyard on a sectional pole.
- On a halyard pole, thread the rope through the pulley and fit the cleat at the base of the pole, using the pre-drilled holes. Wrap the halyard loosely around the cleat but do not trim it yet — the correct length can only be set once the pole is standing.
- Leave the flag and the snap hooks off at this stage.
Step 5: Raise the Pole Safely
This is the step where people get hurt, and the archived installation guidance is direct about it: use at least one helper, and more for a heavier pole. Before lifting, check that there are no overhead wires anywhere the pole could touch while it is being raised — contact with a live line while two people are holding the shaft is an electrocution risk.
- Lay the pole with its base at the mouth of the sleeve.
- The helper lifts from the top and walks the pole up while you keep the base in the sleeve.
- Keep downward pressure on the base so it cannot pop out of the sleeve and fall behind the helper.
- Once vertical, seat the base fully in the sleeve and check the pole is plumb.
Step 6: Attach the Flag and Finish the Hardware
- Telescoping pole: clip the flag to the hook positions at the top. Three hook holes give you the option of one flag, two flags, or half-mast.
- Halyard pole: tie the two ends of the halyard into a loop, sized so the tied rope hangs roughly 2 ft below the cleat — enough to wrap the cleat several times. Trim only after that length is confirmed, then fit the snap hooks, spacing the second hook to the width of the flag.
Then walk the perimeter: check the collar locks are tight, the ornament is secure, and nothing is pinched between the sleeve and the pole.
Common Installation Mistakes to Avoid
| Mistake | What it causes | Fix |
|---|---|---|
| Hole at or near pole diameter | Insufficient bearing; pole loosens and leans | 4–6 × pole end diameter |
| No drainage gravel under the sleeve | Water collects in the sleeve and corrodes the base section | 6 in crushed stone base layer |
| Sleeve not levelled before pour | Permanent lean that cannot be corrected later | Level and brace before pouring |
| Concrete poured into the sleeve | Pole will not seat; sleeve has to be chiselled out | Seal the sleeve mouth first |
| Concrete flush or proud of grade | No room for topsoil or grass; unsightly collar | Stop 1–2 in below grade |
| Pole raised without checking overhead lines | Electrocution risk | Inspect the lift path before raising |
| Halyard trimmed in advance | Rope too short to wrap the cleat | Trim only after the pole is up |
After Installation: What to Check Each Year
- Collar locks on a twist-lock pole, and the cleat, pulley and snap hooks on a halyard pole.
- The collar area at grade, where water gets in. Re-seal if the caulk has failed.
- Flag condition — a frayed flag loads the pole harder and shortens the life of everything above it.
- Pole plumb, especially after a storm season.
For pole and mount options beyond the sleeve method — wall brackets, weighted floor bases, larger shafts — start from our outdoor flag pole range, and match accessories through flagpole accessories. If you are buying the pole and the mount together, our product range lists the pairings we build most often.
Next Step: Get a Quote
Tell us the pole height, the ground condition at the site, whether you need a wall bracket instead of a sleeve, and how many units the programme covers. Get a Quote with those four details and we can confirm the sleeve length, section configuration and hardware that ship with your order.